When it comes to glazing pottery, the choice of brush can significantly influence the application process and the final surface quality. Different brushes are designed for specific purposes, and understanding their characteristics helps in selecting the appropriate tool for a given technique. This article provides an overview of common brush types and sizes, along with their typical uses in various glazing methods. It aims to offer practical guidance without prescribing a single solution, as the optimal choice depends on the specific project, the glaze consistency, and personal preference.
Glazing is a precise step in ceramic work, and the brush acts as an extension of the artist’s hand. A well-chosen brush allows for controlled application, whether covering large expanses or detailing intricate patterns. Factors such as bristle material, shape, and size affect how the glaze is picked up, laid down, and manipulated. The following sections explore these factors in relation to different glazing techniques, providing a framework for making an informed decision in a UK pottery context.
Understanding Brush Anatomy and Materials
The performance of a brush in glazing is largely determined by its construction and the materials used. Brushes consist of a handle, ferrule, and bristles. The bristles can be natural, synthetic, or a blend, each offering distinct handling properties. Natural bristles, like hog or sable, have a unique ability to hold a substantial amount of glaze and release it gradually, which is beneficial for even coverage. They also tend to be more absorbent, which can affect the moisture content of the glaze during application. Synthetic bristles, on the other hand, are often more resilient and easier to clean, while providing a smoother, more controlled release. This makes them suitable for finer work or when using glazes with particular viscosity.
The shape of the brush—round, flat, filbert, or liner—dictates its primary function. Round brushes are versatile, suitable for both coverage and detail. Flat brushes offer broad strokes and are excellent for covering large areas with consistent pressure. Filbert brushes, with their rounded tips, combine the control of a flat brush with the softness of a round. Liner brushes are designed for thin, precise lines. Additionally, the ferrule, typically made of metal, should be secure and rust-resistant to withstand repeated use and cleaning. When selecting a brush, it is helpful to consider how its material and shape align with the specific glazing task at hand.
Common Brush Types and Their Applications
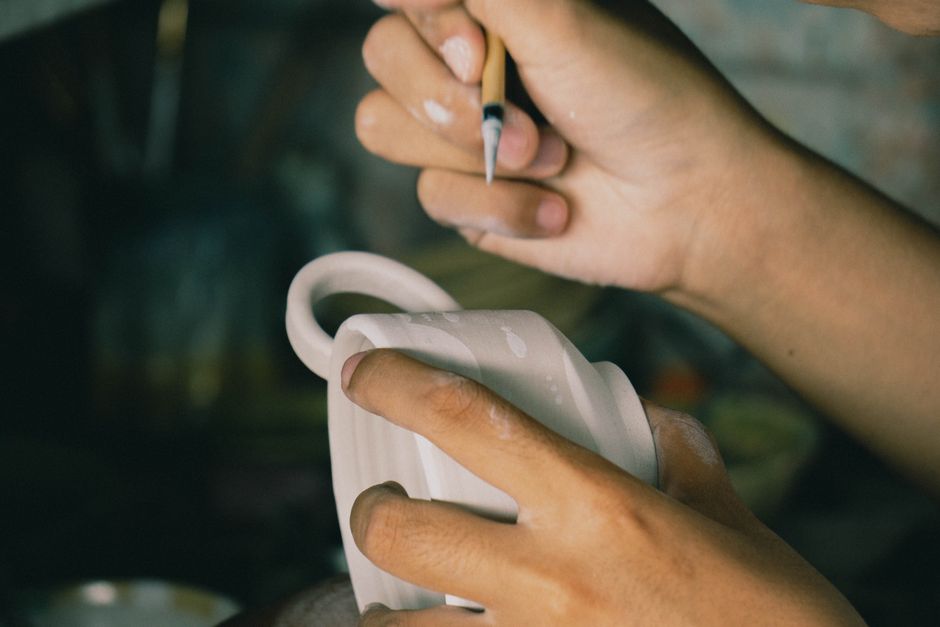
Each category of brush has a typical use in the glazing process. Hake brushes, traditionally used in East Asian painting, are wide, soft brushes with a large capacity for liquid. They are often used for applying broad washes or backgrounds, and their gentle touch helps in avoiding brush marks on delicate surfaces. For detailed work, script brushes or spotter brushes provide long, thin bristles that allow for controlled lines and small accents. These are useful for intricate patterns or applying glaze to specific raised or recessed areas.
Another common type is the mop brush, which is round and very absorbent, ideal for applying glaze to large curved surfaces or for moistening areas. Its softness prevents disturbing the base glaze. Additionally, foam brushes are sometimes used for applying glaze to large untextured areas, as they do not leave bristle marks and are disposable, though they may not offer the same control as bristle brushes. Understanding the intended use of each type helps in matching the brush to the technique, whether it is layering, stippling, or detailing.
Selecting Brush Sizes for Different Glazing Needs
Brush size is a crucial factor in achieving the desired effect. Smaller brushes, such as sizes 0 to 2, are suited for precision work, like painting fine details, fixing small flaws, or applying glaze to narrow rims. They offer control but hold less glaze, requiring more frequent reloading. Medium brushes, sizes 4 to 10, are versatile for general glazing tasks, including covering moderate areas and applying underglazes. Larger brushes, sizes 12 and above, are efficient for covering expansive surfaces, such as the exterior of a vase or the interior of a bowl. Their large capacity allows for fewer reloads, which can help in maintaining a consistent layer.
The choice of size also interacts with the glaze consistency. A thick glaze may need a larger brush to spread effectively, while a thin glaze might pool with a large brush, requiring a smaller one for control. The shape and size of the pottery piece also influence the selection; for instance, a narrow-necked bottle might require a long, thin brush to reach the interior, while a wide flat tile might benefit from a wide brush for even coverage. Therefore, it is practical to have a range of brushes available to address various tasks.
Matching Brushes to Specific Glazing Techniques
Different glazing techniques, such as single-coat application, layering, and wax resist, place distinct demands on brushes. For a single, even coat, a wide flat brush or a hake brush can apply the glaze quickly and uniformly. Layering multiple glazes to create depth often requires a brush that can apply thin, controlled strokes without disturbing the layers beneath, making a mop or a synthetic round brush suitable. Wax resist, used to prevent glaze adhesion, is typically applied with a brush that can handle the waxy material without becoming hardened; synthetic brushes are often preferred because they are easier to clean with appropriate solvents.
In sponge glazing, a brush may be used to apply glaze before the sponge is used to create texture. Here, a brush that provides even coverage is essential. Additionally, for techniques like trailing or slip trailing, a brush with a fine point is necessary to control the flow. The choice of brush also depends on the type of glaze—some glazes are abrasive and can wear down soft bristles, so a sturdier synthetic might be more appropriate. By considering these factors, the artist can select a brush that aligns with the technique’s requirements.
Practical Considerations and Maintenance
The longevity and performance of a brush are influenced by how it is used and cared for. Using the correct brush for the intended purpose prevents unnecessary wear. For instance, using a delicate sable brush for abrasive glazes can damage the bristles. Proper cleaning is essential; brushes should be rinsed thoroughly after each use to remove glaze residue, which can harden and ruin the bristles. For water-based glazes, warm water and mild soap are usually sufficient. After cleaning, reshape the bristles and store the brush horizontally or upright with bristles up to maintain its form.
Regular inspection for damage is also recommended. If the bristles start to splay or the ferrule becomes loose, the brush may no longer provide the desired performance. It is often economical to invest in a few high-quality brushes that are suitable for the dominant glazing techniques used in a studio, rather than a large set of inferior brushes. Moreover, because glaze materials can be abrasive, even high-quality brushes will eventually wear out, and replacing them in a timely manner ensures consistent results. Understanding these practical aspects helps in maintaining a reliable set of tools for glazing.